This is not a recipe for the fearful. If you’re anxious about baking bread without gluten, step back, and gather your courage. This is my favorite gluten-free bread recipe, but to make and enjoy it, you must rethink your ideas about bread.
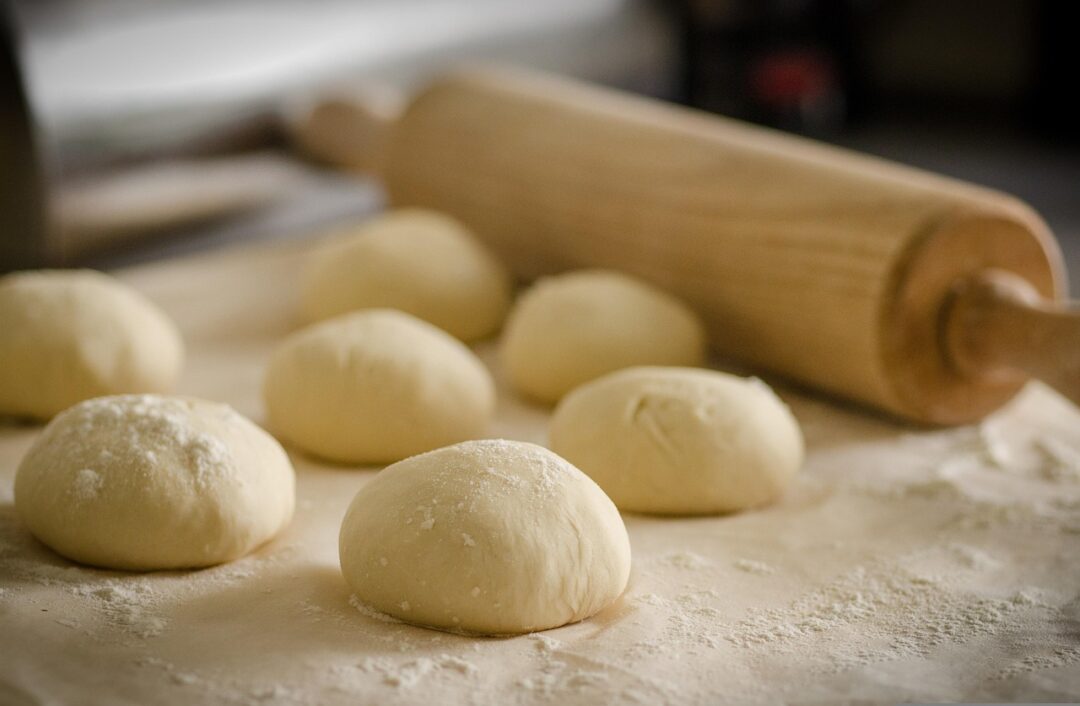
I bake this recipe in three-inch ramekins. The resulting loaves are cute as can be, but they’re shaped like muffins. You can’t make hefty sandwiches using this bread, but it’s a true yeast bread you can slice, if you wish, and use for circular finger sandwiches.
This recipe is adapted from Alexandra Stafford’s Bread Toast Crumbs. Stafford likes to bake her bread in bowls, but I find gluten-free loaves don’t bake well in large bowls. After a few failures, I tried baking this recipe in ramekins, and it worked every time.
You don’t knead gluten-free bread, which gets its elasticity from xanthan (or guar) gum. I add 1/2 teaspoon of either gum to each cup of gluten-free flour. This recipe works for every gluten-free flour mix I’ve tried. If you don’t eat the bread in a day, put the extra mini-loaves in a zip-top bag in the refrigerator. Eat them right away or they’ll soon become hard and eligible to be ground into gluten-free bread crumbs. Gluten-free bread freezes well, but it will only be useful as toast after it’s been frozen.

Mini Gluten-Free Bread Loaves
This easy, no-knead recipe makes individual muffin-shaped loaves of gluten-free yeast bread that taste indistinguishable from their wheat-based cousins.
Ingredients
- Dairy-free butter or vegetable shortening for greasing the ramekins
- 4 cups gluten-free flour mix
- 2 teaspoons xanthan (or guar) gum
- 2 teaspoons kosher salt
- 1 package instant yeast (8 grams)
- 2 cups lukewarm water
- 2 tablespoons honey
- 2 tablespoons grapeseed or avocado oil
- 1 teaspoon apple cider vinegar
Instructions
Preheat the oven to 200 degrees F, and turn it off.
Grease 8 ramekins liberally, and set aside.
In a stand mixer fitted with a paddle, mix the flour, salt, xanthan gum and yeast.
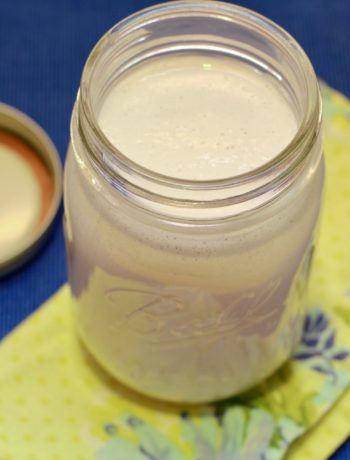
In a separate medium bowl, stir the honey and water together until the honey dissolves.
Whisk the oil and vinegar into the honey mixture.
Add the wet ingredients to the dry ingredients to form a batter.
Divide the batter among the ramekins and put them on a baking sheet.
Smooth the tops of the batter in each ramekin with wet fingers.
Put the ramekins into the warmed oven to let the dough rise for 35 minutes.
Remove the ramekins from the oven, and turn the heat to 425 degrees F.
When the oven is heated, put the ramekins, still on the baking sheet, back in the oven for 15 minutes.
Reduce the heat to 375 degrees for 10 more minutes, until the tops of the mini loaves are golden.
Turn the mini loaves onto a cooling rack and let them cool for at least 20 minutes.
Place loaves in a tightly-sealed container at room temperature until ready to serve.
Freeze any leftover loaves in sealed zip-top bags.
Notes
You'll need to experiment to get the bread to rise correctly depending on where you live and how humid your house is. Adjust the flour mix accordingly. Add spices and flavors (dried cranberries, cinnamon, sage, whatever) to make different varieties of these cute mini-loaves. You can substitute active dry yeast for instant yeast. You'll need to stir the active dry yeast into the warm water and allow it to bubble up ("bloom") before stirring it into the other ingredients.


No Comments